1. Getting Started
Welcome to Coltrane Soundboard! This guide will help you get started with creating and managing your sound collections.
When you first launch Coltrane, the application will create a default configuration file if one doesn't exist. A short splash screen shows the loading progress so you know the app is starting, and then the main window opens in the Sound Boards view with your sound collections.

Configuration Files and Storage
Coltrane automatically detects the appropriate configuration directory based on your operating system and stores your configuration there. In normal use you do not need to change this location.
| Operating System | Configuration Path |
|---|---|
| Windows | %APPDATA%\Coltrane\config.json |
| macOS | ~/Library/Application Support/Coltrane/config.json |
| Linux | $XDG_CONFIG_HOME/Coltrane/config.json or~/.config/Coltrane/config.json |
Directory Structure
On first launch Coltrane creates a simple configuration folder with a single config file and a sounds directory for your audio files:
<CONFIG_DIR>/
├── config.json        # Main configuration (includes all collections)
└── sounds/            # Audio files folder
2. Installing
Coltrane is available as precompiled executables for Windows, macOS, and Linux. Follow the steps below for your platform.
System Requirements
Windows
Windows 10 or later
macOS
macOS 10.14 or later
Linux
Modern distributions with audio support
3. Overview
Coltrane features a unified window with an intuitive interface that combines all functionality in one place. The application consists of two main views accessible through the sidebar navigation.
3.1 Sidebar and main content
Coltrane features a unified window with collapsible sidebar navigation that allows you to seamlessly switch between different views without opening new windows.
Navigation Items
The sidebar contains three main navigation items:
- Sound Boards: Switch to the soundboard view with collection selector and sound grid
- Collections: Switch to the collection editor view for managing collections and sounds
- Close: Close the application
Collapsible Sidebar
The sidebar can be collapsed to show only icons, giving you more space for the main content. Click the toggle button to expand or collapse the sidebar.

Benefits
- Maintain context when switching between views
- No need to manage multiple windows
- Quick access to all application features
- Clean, organized interface
3.2 System menu
Coltrane integrates with your system tray, providing quick access to the application even when the main window is hidden.
System Tray Icon
The Coltrane icon appears in your system tray when the application is running. The icon provides quick access to application features.
System Tray Menu
Right-click the system tray icon to access the context menu:
- Show/Hide: Toggle the main window visibility
- About: Open the About window with application information
- Quit: Exit the application

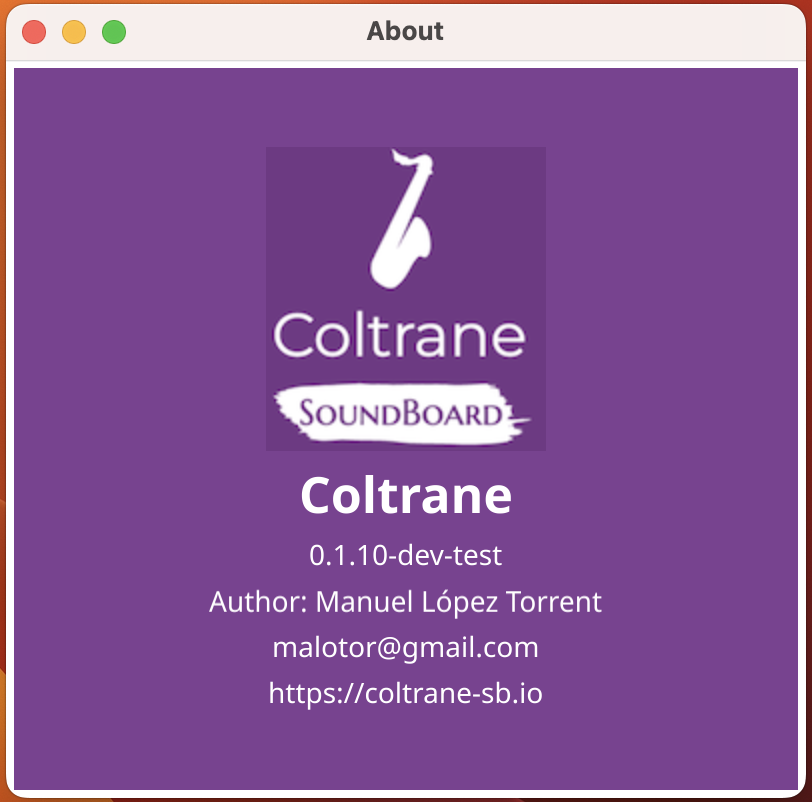
About Window
The About window displays:
- Application name and logo
- Version information
- Application description
- License information
4. Managing collections
The Collection Editor is integrated directly into the main window and provides a comprehensive interface for managing your collections and sounds.
Accessing the Collection Editor
To access the Collection Editor:
- Click on "Collections" in the sidebar navigation
- The Collection Editor view will appear in the main window
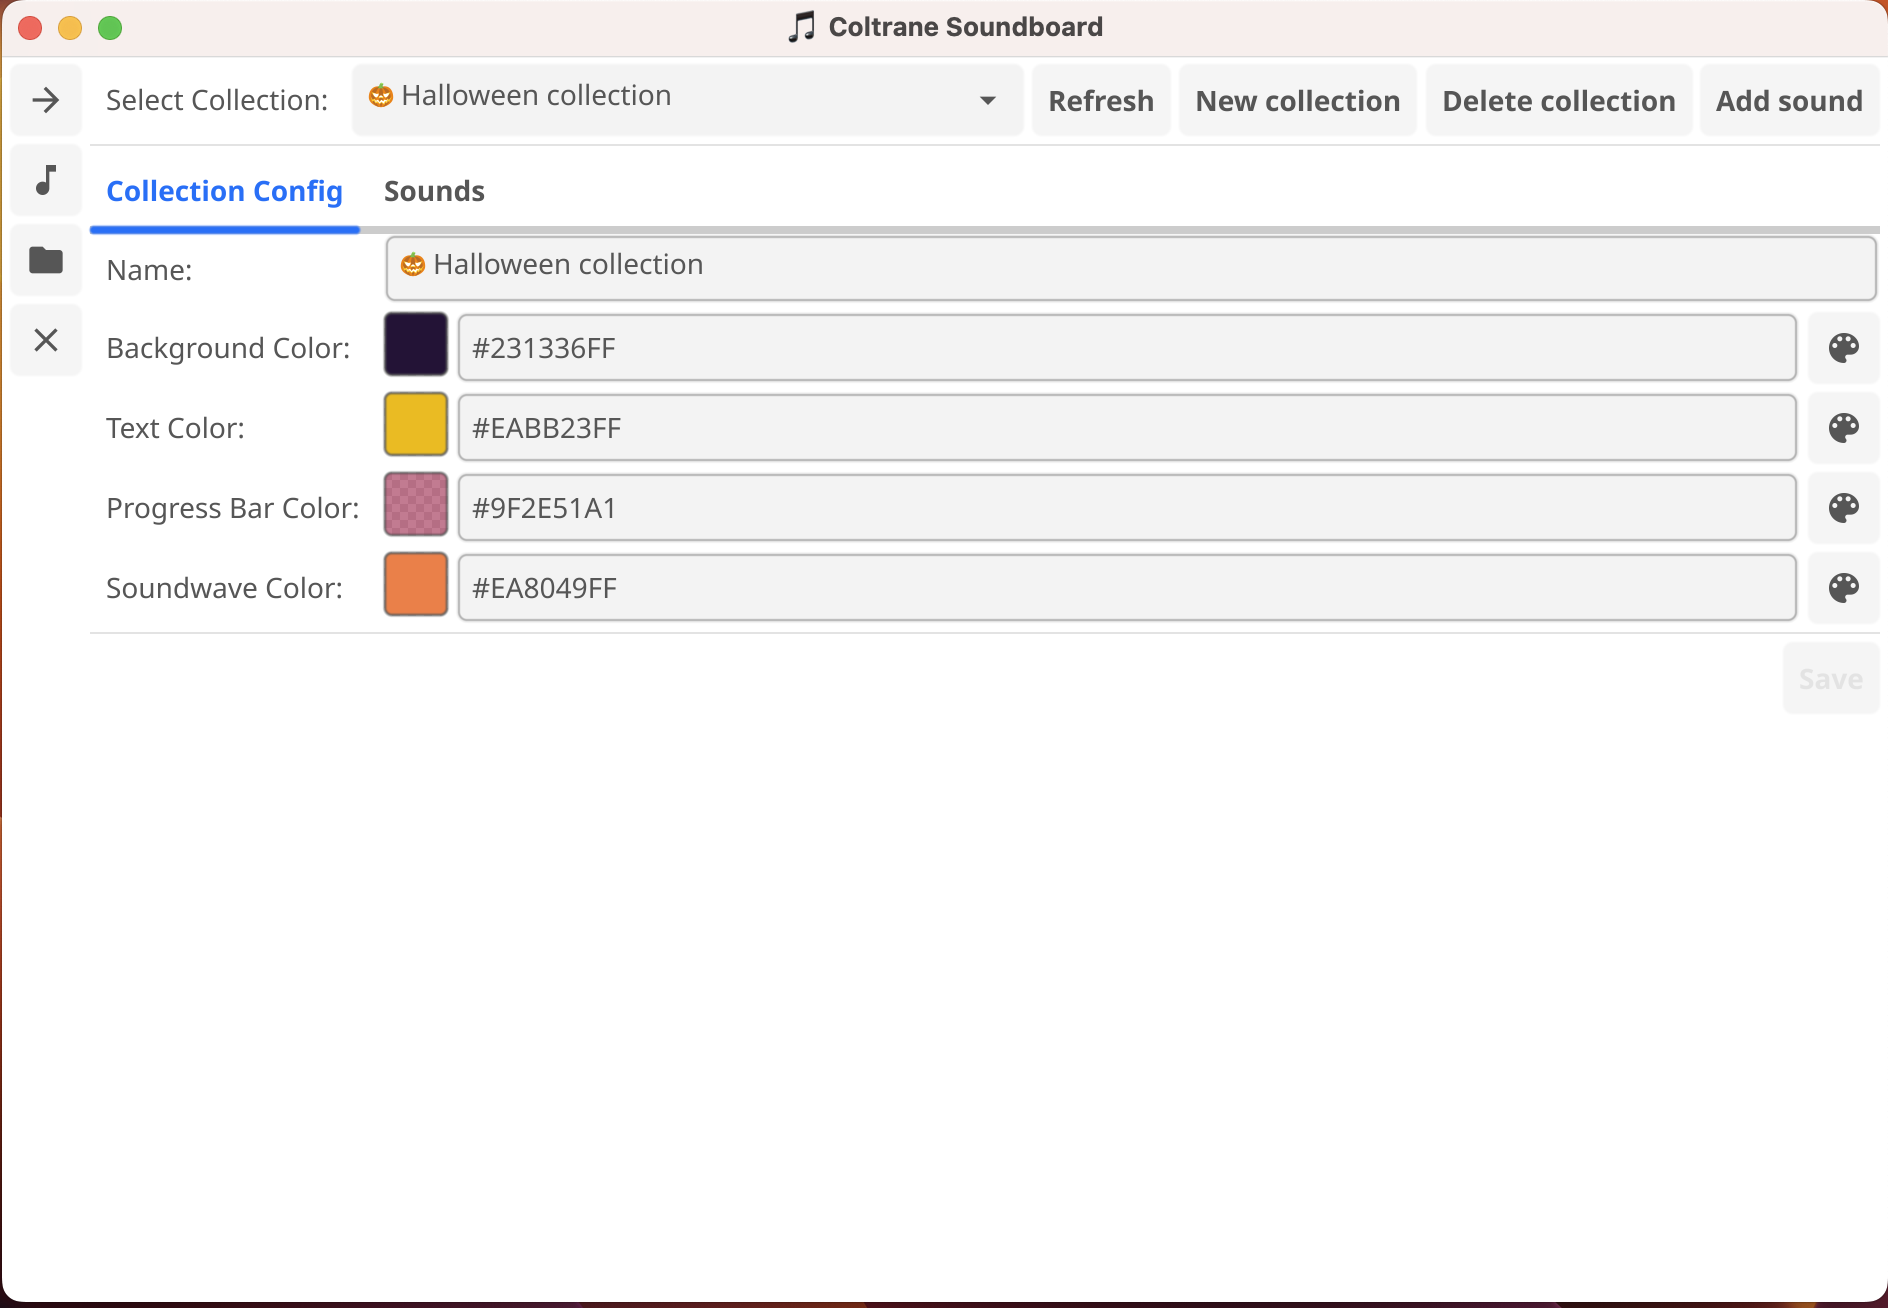
Tabbed Interface
The Collection Editor features a two-tab interface:
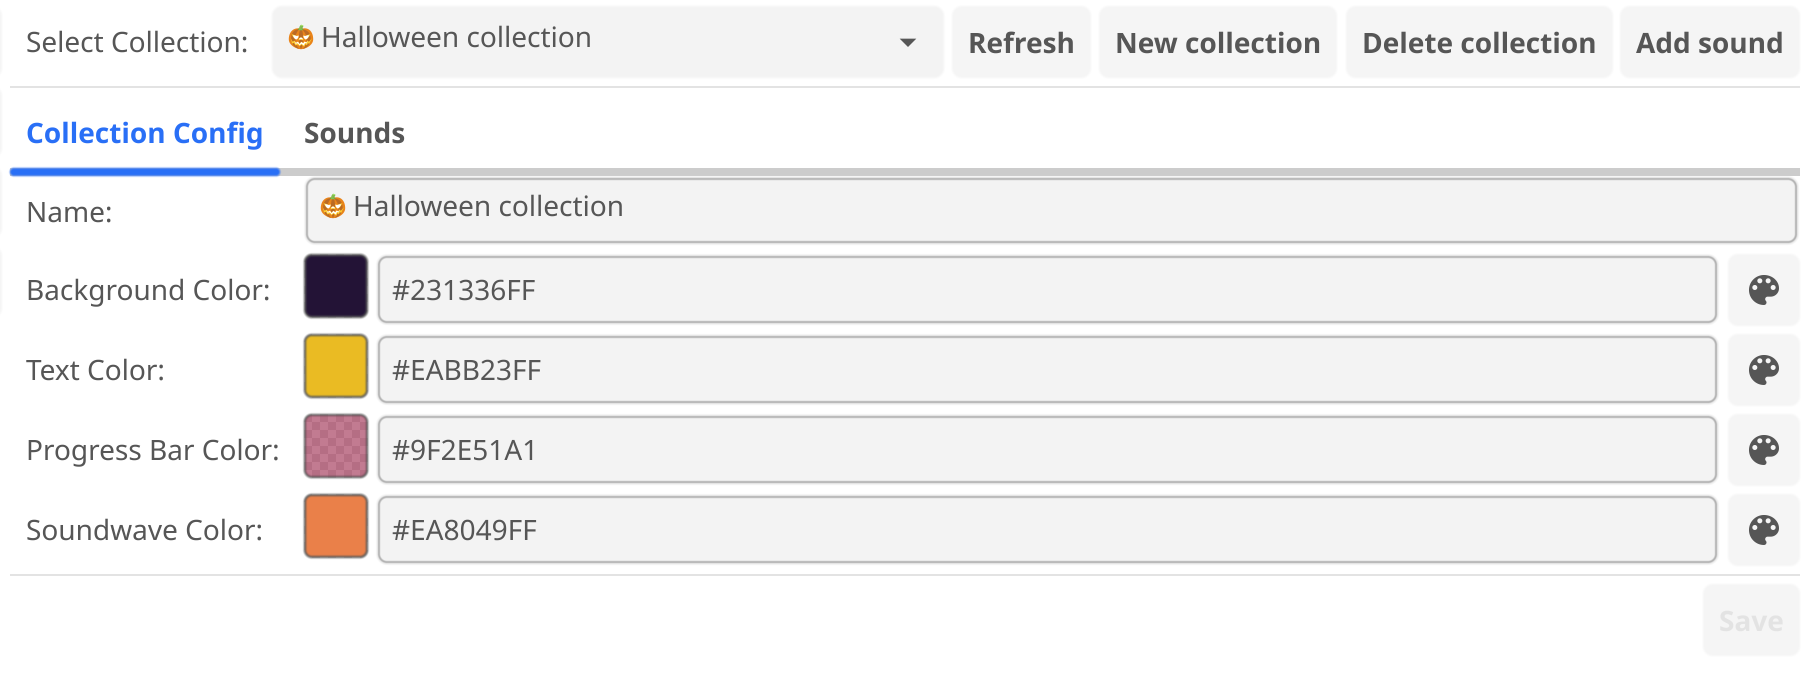
- Collections Tab: Manage collection properties (ID, name, colors)
- Sounds Tab: Manage sounds within the selected collection
4.1 Create collection
A collection is simply a group of related sounds that share a name and visual style. For example, you might create a "Rock Collection" with bright red accents for drums and warmer tones for bass and guitar.
Step-by-Step: Creating a Collection
- Navigate to the Collections view using the sidebar
- Click "New Collection" button
- Enter a unique collection ID (no spaces, use underscores or hyphens)
- Enter a display name for the collection
- Optionally customize colors using the color picker widgets
- Click "Save" to create the collection
4.2 Adding sound
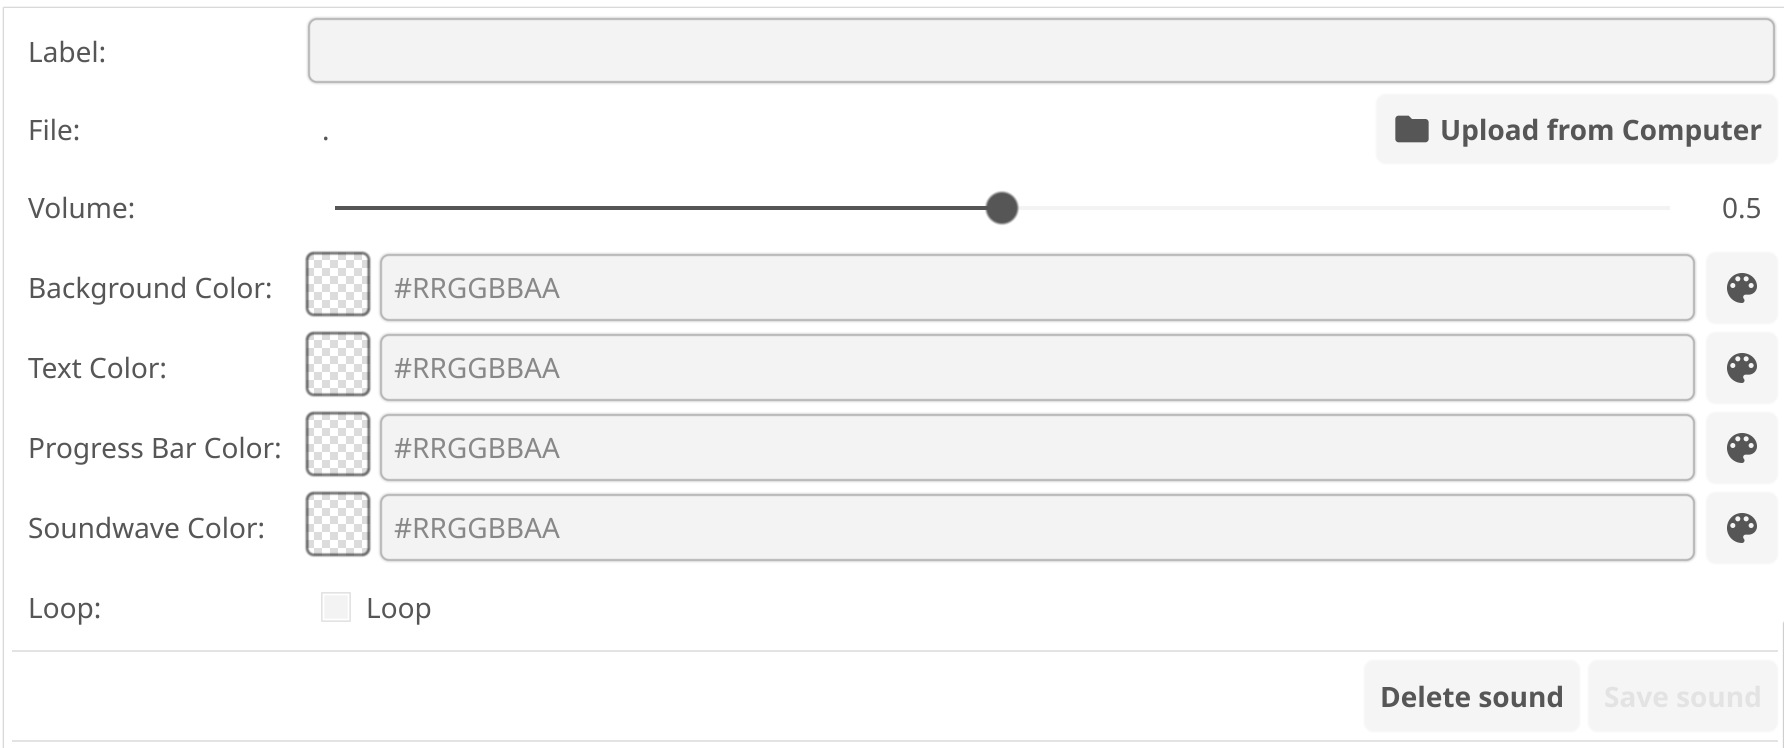
Step-by-Step: Adding a Sound
- Navigate to the Collections view
- Select your collection from the collection selector
- Click on the "Sounds" tab
- Click "Add Sound" button
- Fill in the sound form:
- Enter a label (display name, can include emojis)
- Click "Browse" to select an MP3 file
- Check "Loop" if you want the sound to loop automatically
- Set volume in decibels (0.0 = original volume)
- Optionally customize colors
- Click "Save" to add the sound
File Browser Integration
When adding or editing sounds, use the integrated file browser to select MP3 files. The file browser allows you to navigate your file system and select audio files easily.

Compatible Formats
Supported
- MP3 - Main recommended format
Note: All audio files must be in MP3 format for optimal compatibility and performance.
4.3 Edit collection and sound
Editing Collections
To edit a collection:
- Navigate to the Collections view
- Select the collection you want to edit from the collection selector
- Make your changes in the Collections tab
- Click "Save" to apply changes
Editing Sounds
To edit a sound:
- Navigate to the Collections view
- Select the collection containing the sound
- Click on the "Sounds" tab
- Select the sound you want to edit
- Make your changes
- Click "Save" to apply changes

Deleting Collections and Sounds
To delete a collection or sound:
- Select the collection or sound you want to delete
- Click "Delete" button
- Confirm the deletion in the dialog
Collection Management
Manage your collections efficiently:
- Switching Collections: Use the collection selector dropdown in the Sound Boards view or Collections view
- Editing Collections: Navigate to Collections view, select a collection, and edit properties
- Deleting Collections: Select a collection and click Delete (with confirmation)
- Editing Sounds: Select a sound in the Sounds tab and click Edit
- Deleting Sounds: Select a sound and click Delete (with confirmation)

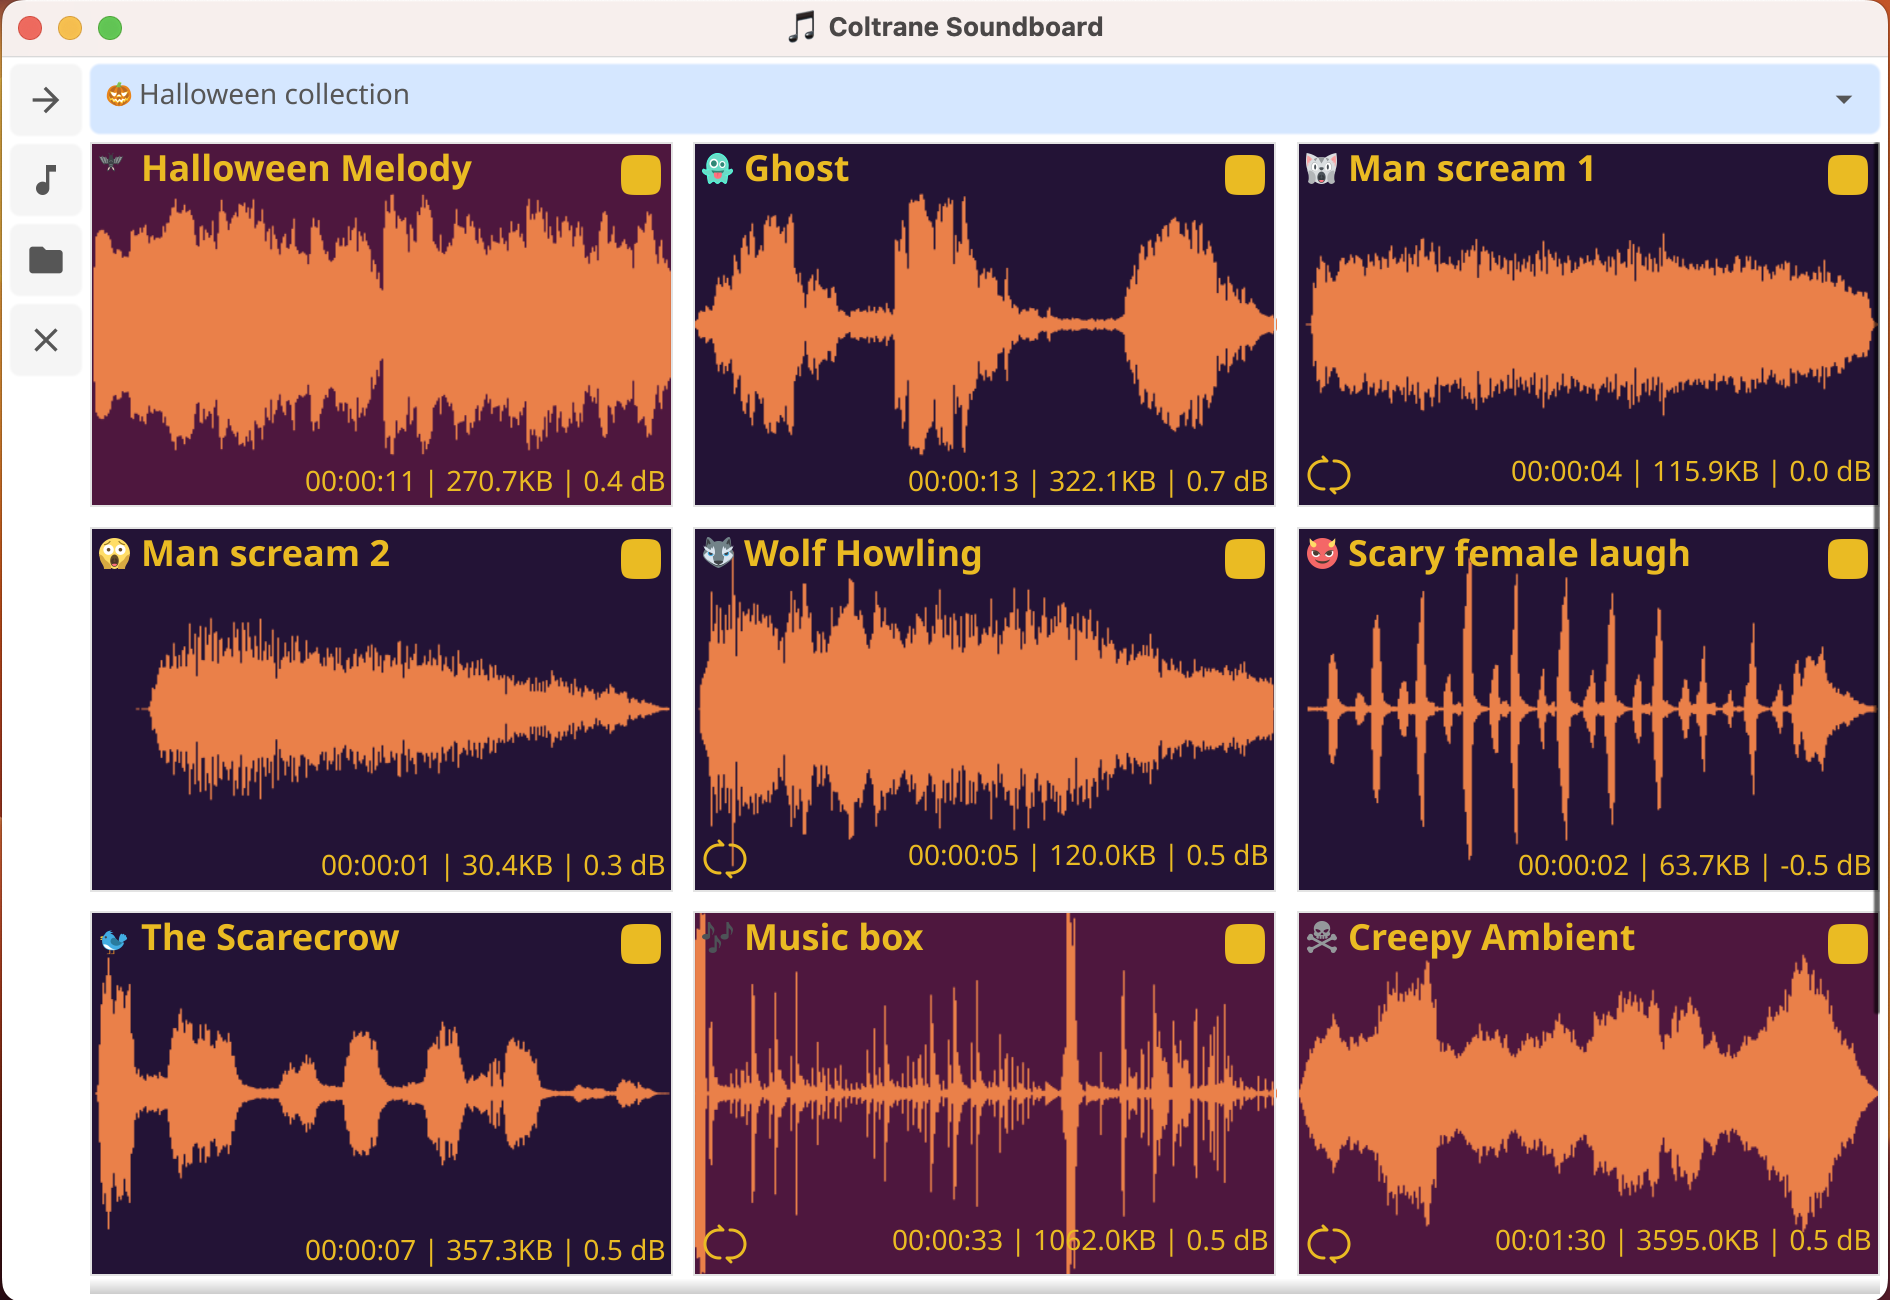
5. Soundboard
The Soundboard view is the main interface for playing and managing your sounds during use. It provides intuitive controls and visual feedback for all your audio needs.
5.1 Selection collection
Switch between different sound collections directly from the Soundboard view without needing to restart the application.
Using the Collection Selector
- Collection Selector: Dropdown at the top to switch between different collections without restarting the application
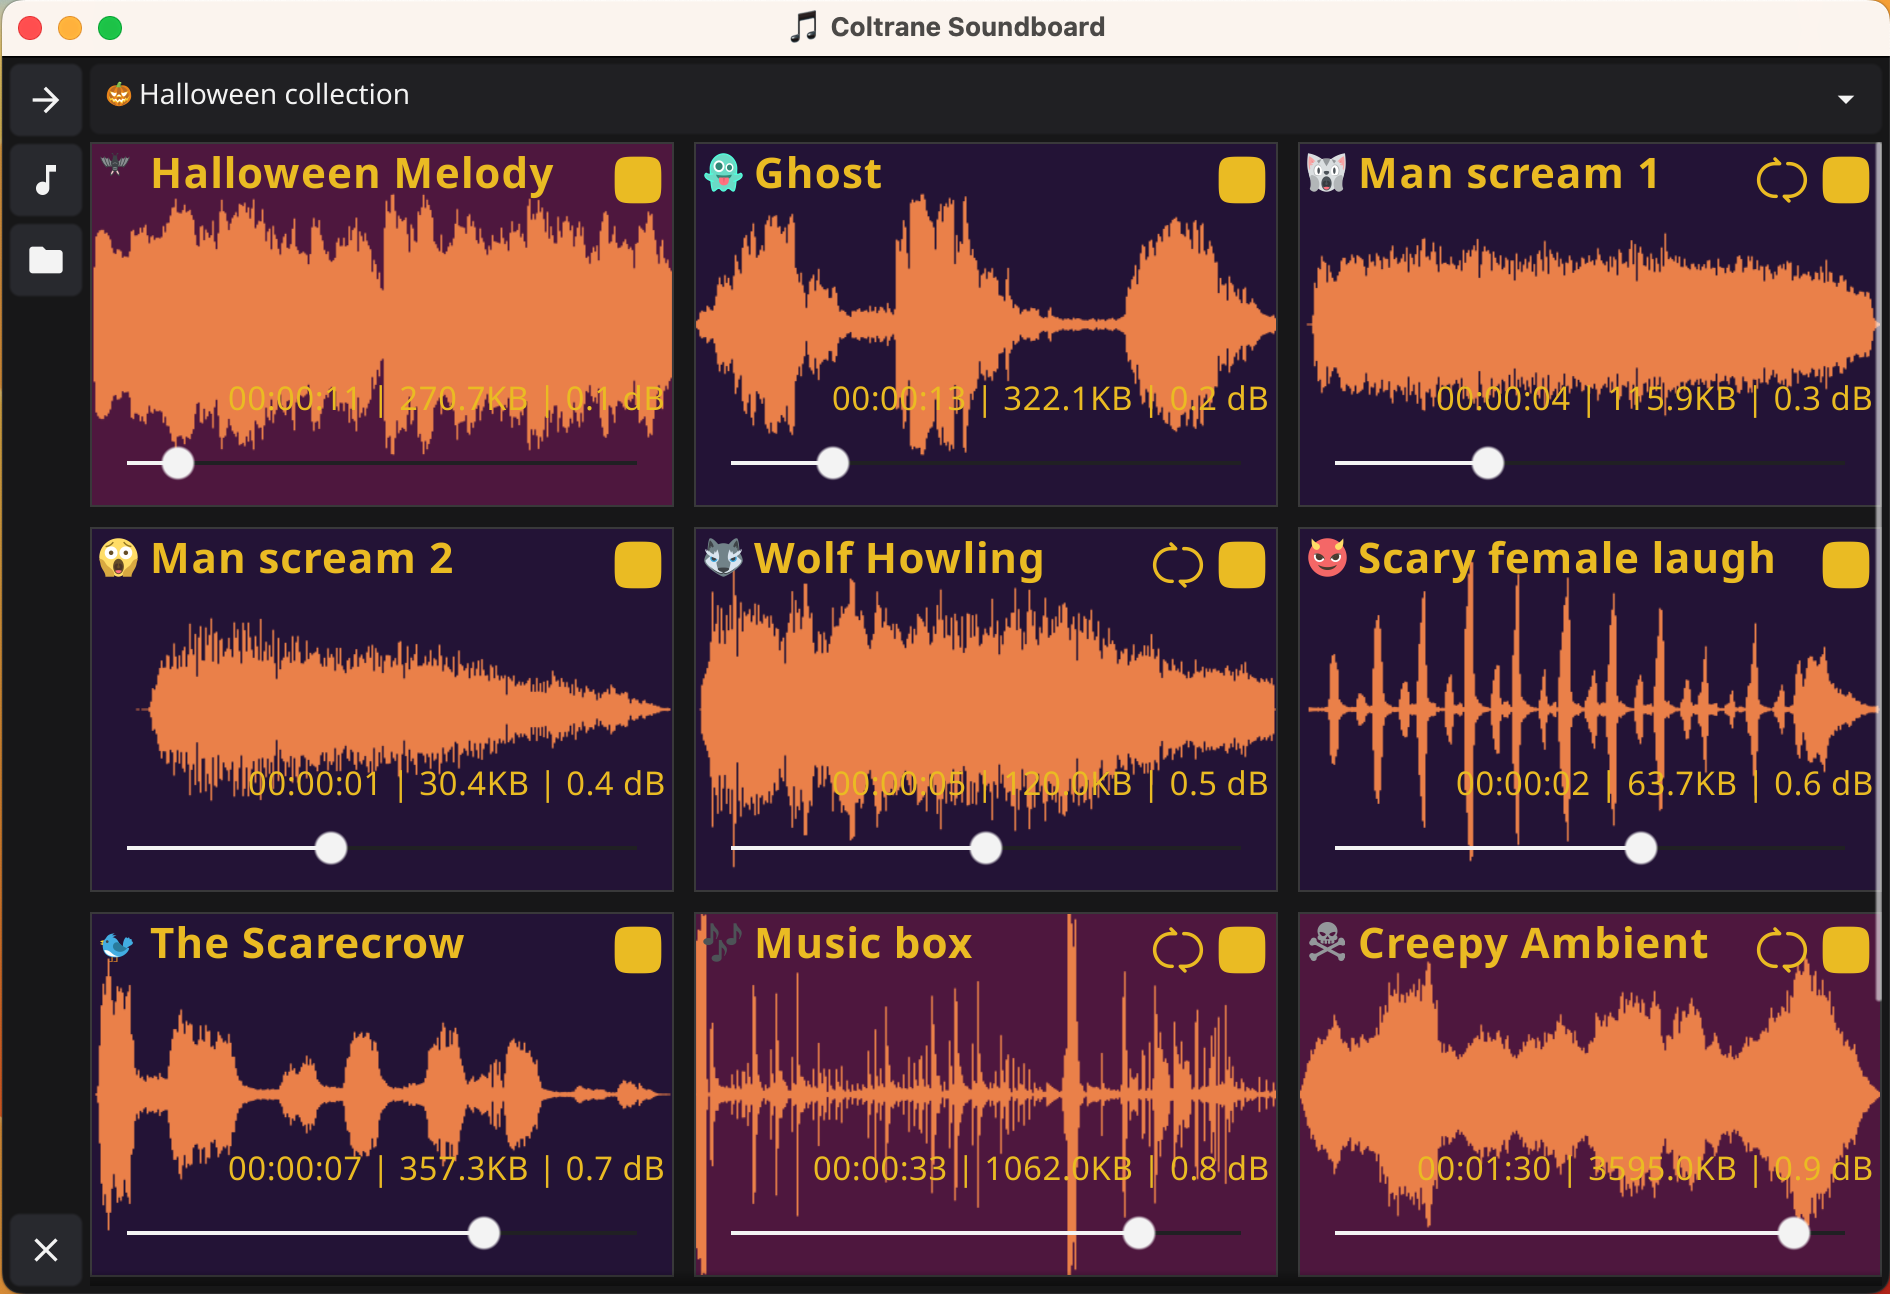
- Sound Grid: The main area displaying all sounds in the selected collection in a responsive grid that adapts the number of columns to the window size
5.2 Sound panel interface
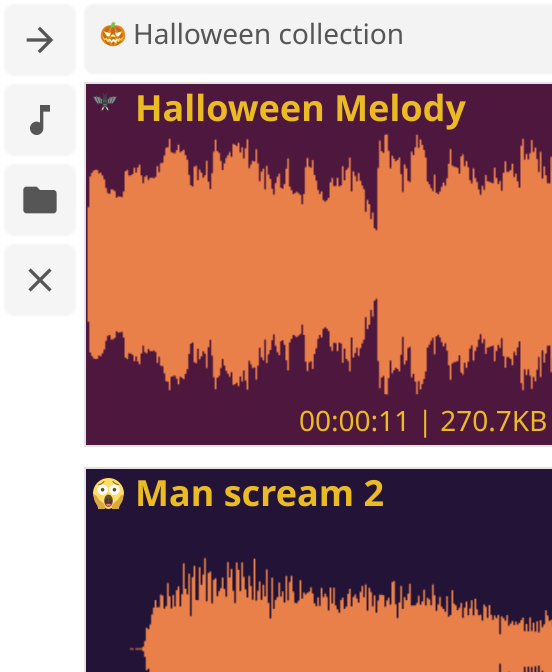
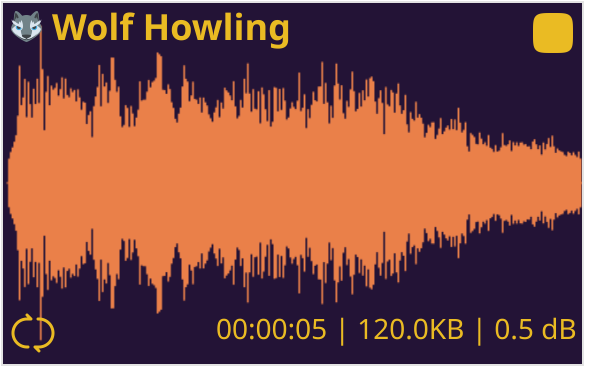
Each sound is displayed in a panel with visual feedback and controls. Sound panels show comprehensive information including sound name, duration, file size, loop indicator, and playback state.
5.2.1 Icons
Coltrane provides intuitive playback controls for each sound:
Mouse Controls
- Left Click: Start playback or pause/resume if already playing
- Right Click: Stop playback completely and reset to beginning
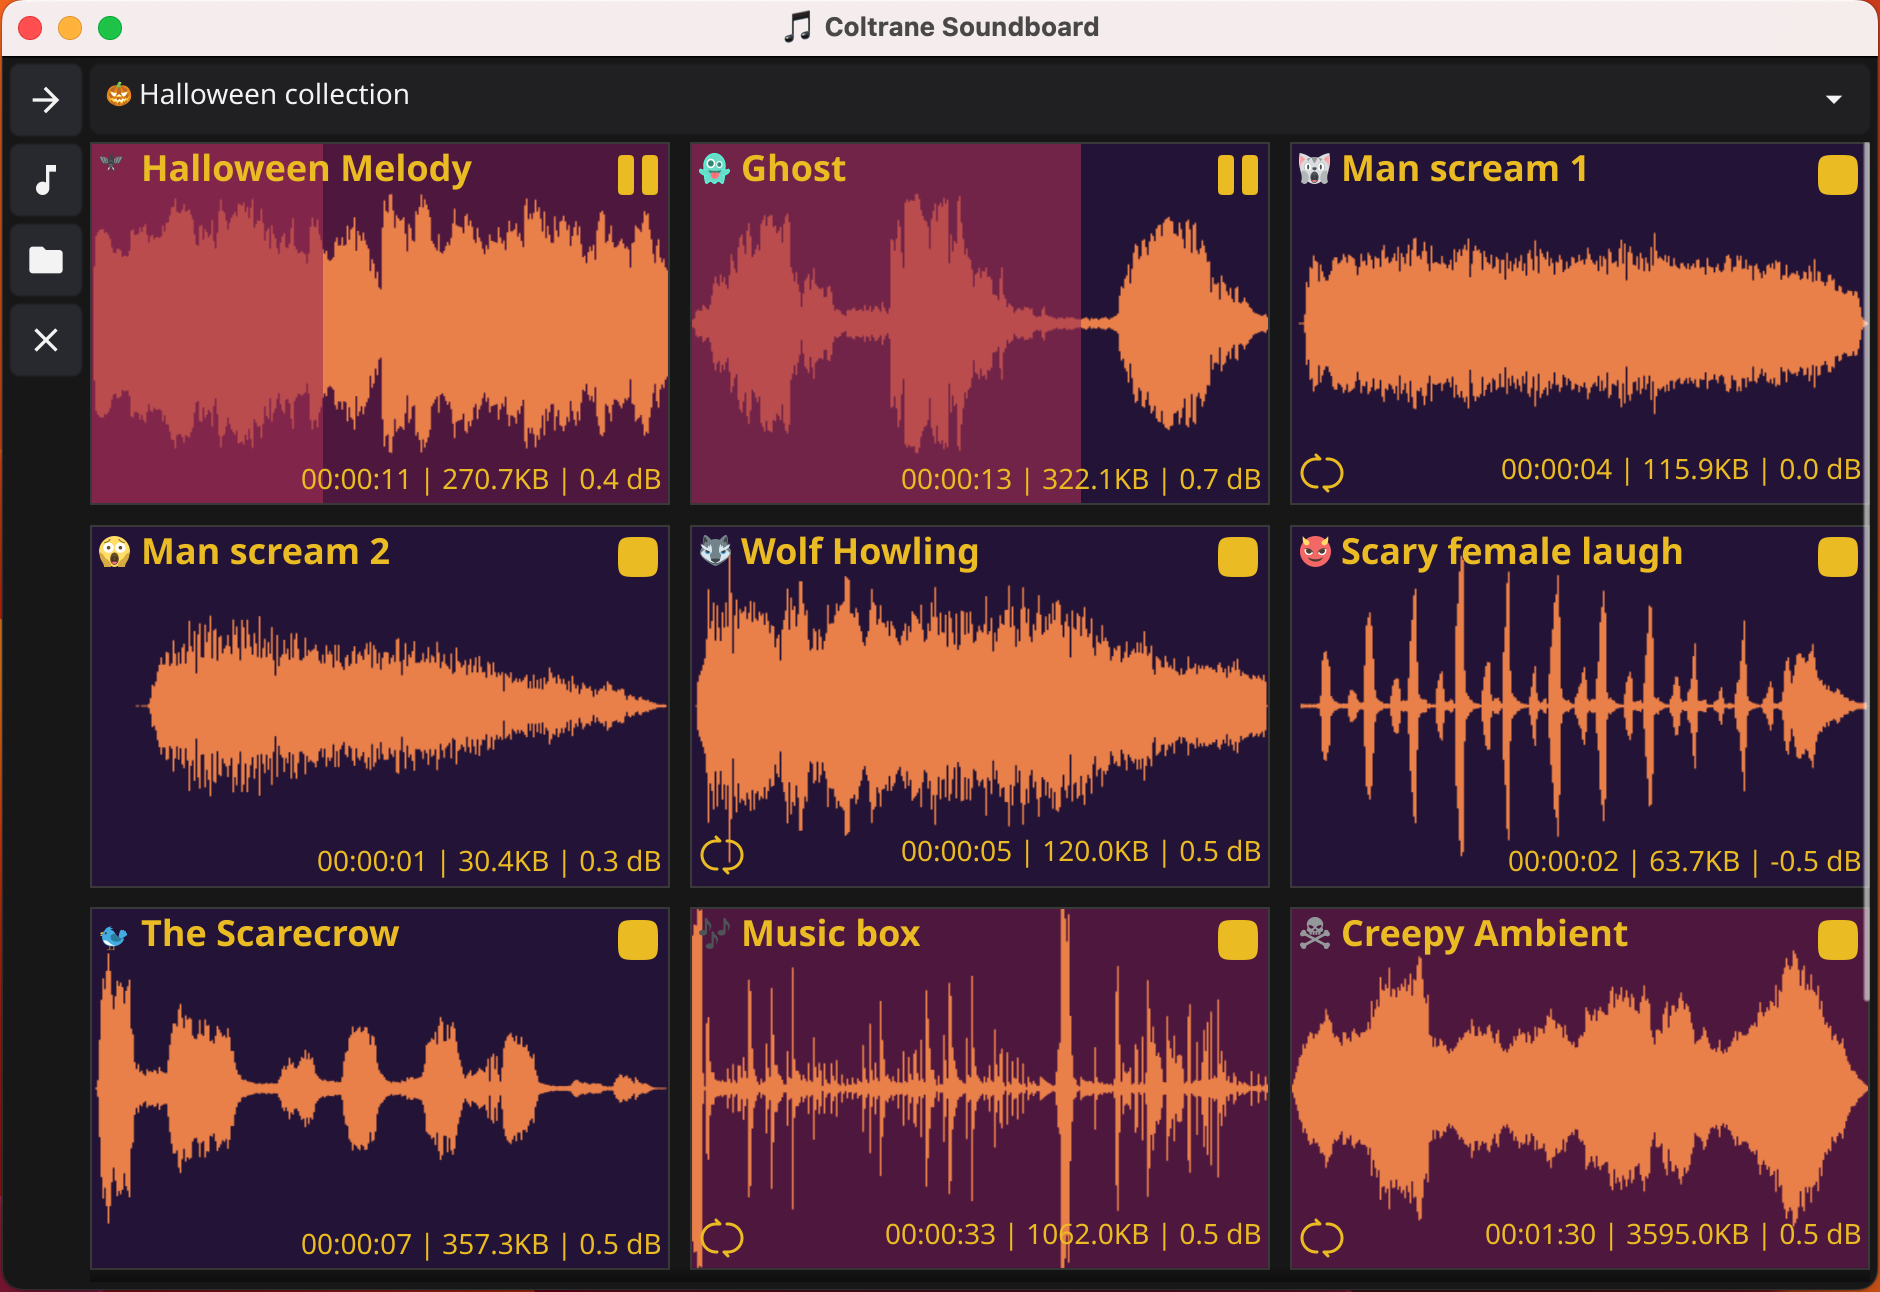
Playback States
Each sound can be in one of three states, indicated by its icon:
- Stopped: Initial state, ready to play (Play icon)
- Playing: Currently playing audio (Pause icon)
- Paused: Playback paused, can be resumed (Play icon)
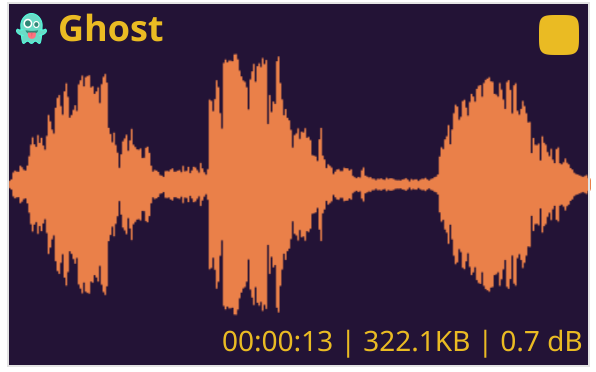

Visual Indicators
Each sound panel shows:
- Play/Pause icon indicating current state
- Loop indicator (🔄) if looping is enabled
- Sound duration and file size information
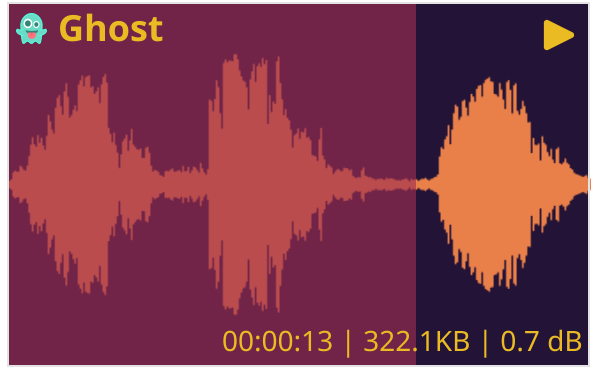
- Progress bar showing playback progress
- Waveform visualization as background
Loop Functionality
Sounds configured with "loop": true will automatically restart when they finish playing. A loop indicator (🔄) appears on sounds with looping enabled.
Progress Bar
During playback, a progress bar shows the current playback position. The progress bar color can be customized per collection or sound.

Waveform Visualization
Coltrane automatically generates waveform visualizations for each sound, providing a visual representation of the audio content as the background of each sound panel.
Automatic Generation
When you add a sound to a collection, Coltrane automatically:
- Analyzes the audio file
- Extracts waveform data
- Generates a PNG image of the waveform
- Uses the waveform as the background of the sound panel

Advanced Features
Simultaneous Playback
Coltrane supports playing multiple sounds simultaneously. Simply click on multiple sound panels to layer different audio tracks.

5.2.2 Volume
Coltrane uses a logarithmic volume system for precise audio control. Each sound's initial volume is configured in the config.json file or set when adding/editing sounds in the Collection Editor.
How Volume Works
- Configuration Value: The
volumefield represents decibels (can be positive, negative, or zero) - Volume Behavior:
0.0= Original volume (no change)1.0= +1 decibel (louder)-2.0= -2 decibels (quieter)
- Static Configuration: Volume is set per sound in the configuration file and cannot be adjusted during playback
Volume Examples
For example, a Halloween melody sound might start slightly louder than its original recording so it stands out in the mix, while a subtle background effect might start a bit quieter. You can choose the starting loudness that feels right for each sound in your board.
Performance Considerations
File Optimization
<2MB: Buffered playback (instant, overlappable)
≥2MB: Streaming (memory efficient)
Performance Note: Files smaller than 2MB are preloaded for instant playback, while larger files stream on demand to save memory.
6. Theme
Coltrane offers extensive customization options for appearance, including color customization and automatic theme adaptation.
6.1 Color resolution
Coltrane offers extensive color customization at both collection and sound levels, allowing you to create visually distinctive soundboards.
Color Hierarchy
- Collection-Level Colors: Set default colors for all sounds in a collection
- Sound-Level Colors: Override collection defaults for individual sounds
Customizable Elements
You can customize colors for:
- Background color
- Text color
- Progress bar color
- Waveform color
How to Customize Colors
- Navigate to Collections view
- Select a collection or sound
- Use the color picker widgets to set colors
- Colors are specified in hexadecimal format (#RRGGBB)

Waveform Customization
Waveform colors can be customized at both collection and sound levels:
- Collection-Level: Set default waveform color for all sounds in a collection
- Sound-Level: Override collection default for individual sounds
Visual Features
The color customization:
- Provides visual feedback about the audio content
- Enhances the aesthetic appeal of sound panels
- Helps identify sounds at a glance
- Updates dynamically during playback
6.2 Theme adaptable dark/light
Coltrane automatically adapts to your operating system light/dark theme so the app always feels native to your desktop.
How Themes Work
- Automatic Matching: The application follows your system light/dark preference using the Auto theme
- Consistent Look: When your system switches between light and dark, Coltrane updates to match it
Theme Options
- Light Theme: Bright, clean interface for daytime use
- Dark Theme: Easy on the eyes for low-light environments
- Auto Theme: Automatically follows your system preferences
Selecting a Theme
By default Coltrane follows your operating system light/dark preference using the Auto theme. You can switch between Light, Dark, and Auto from the application settings or menus provided by your platform build.
Color Customization and Themes
In addition to themes, you can customize colors at the collection and sound levels. Collection-level colors serve as defaults, which can be overridden by individual sound colors. Note that theme colors may override some custom colors for interface elements, which is expected behavior to maintain consistency.